
 |
Welcome to my very first DIY blog post! I am so excited to share with you this new project! This project is fairly easy, it shouldn't take more than an hour. I love seeing results in a short amount of time, don't you? Have a looksie....

-Hammer
-Small sheet of thin metal (I got mine at the local hardware store)
-Metal snippers
-Coarse sandpaper
-Couple of smallish nails
-Jewelry pliers
-Jump rings, I used small, medium, and large ones (where jewelry making supplies are sold)
-Necklace chain (see above)
-Necklace toggle (not pictured, oops!)

1. Measure out two rectangles on your sheet of metal. I measured out 1/2 inch x 1 1/12 inch. Cut them out, carefully, with metal snippers (You should use gloves when handling the metal, it has sharp edges after all. I can't say that I did. Whoops!).
 |
| When you cut the metal, it will bend out of shape. That is ok! |

2. Hammer the entire surface of each side of the metal. This step I did on a thin piece of cardboard on cement flooring. Continue to hammer until you are happy with the look. **Important** Sand the edges and corners with your coarse sandpaper. The edges are sharp! and we don't want to scratch up your chest, now do we?!
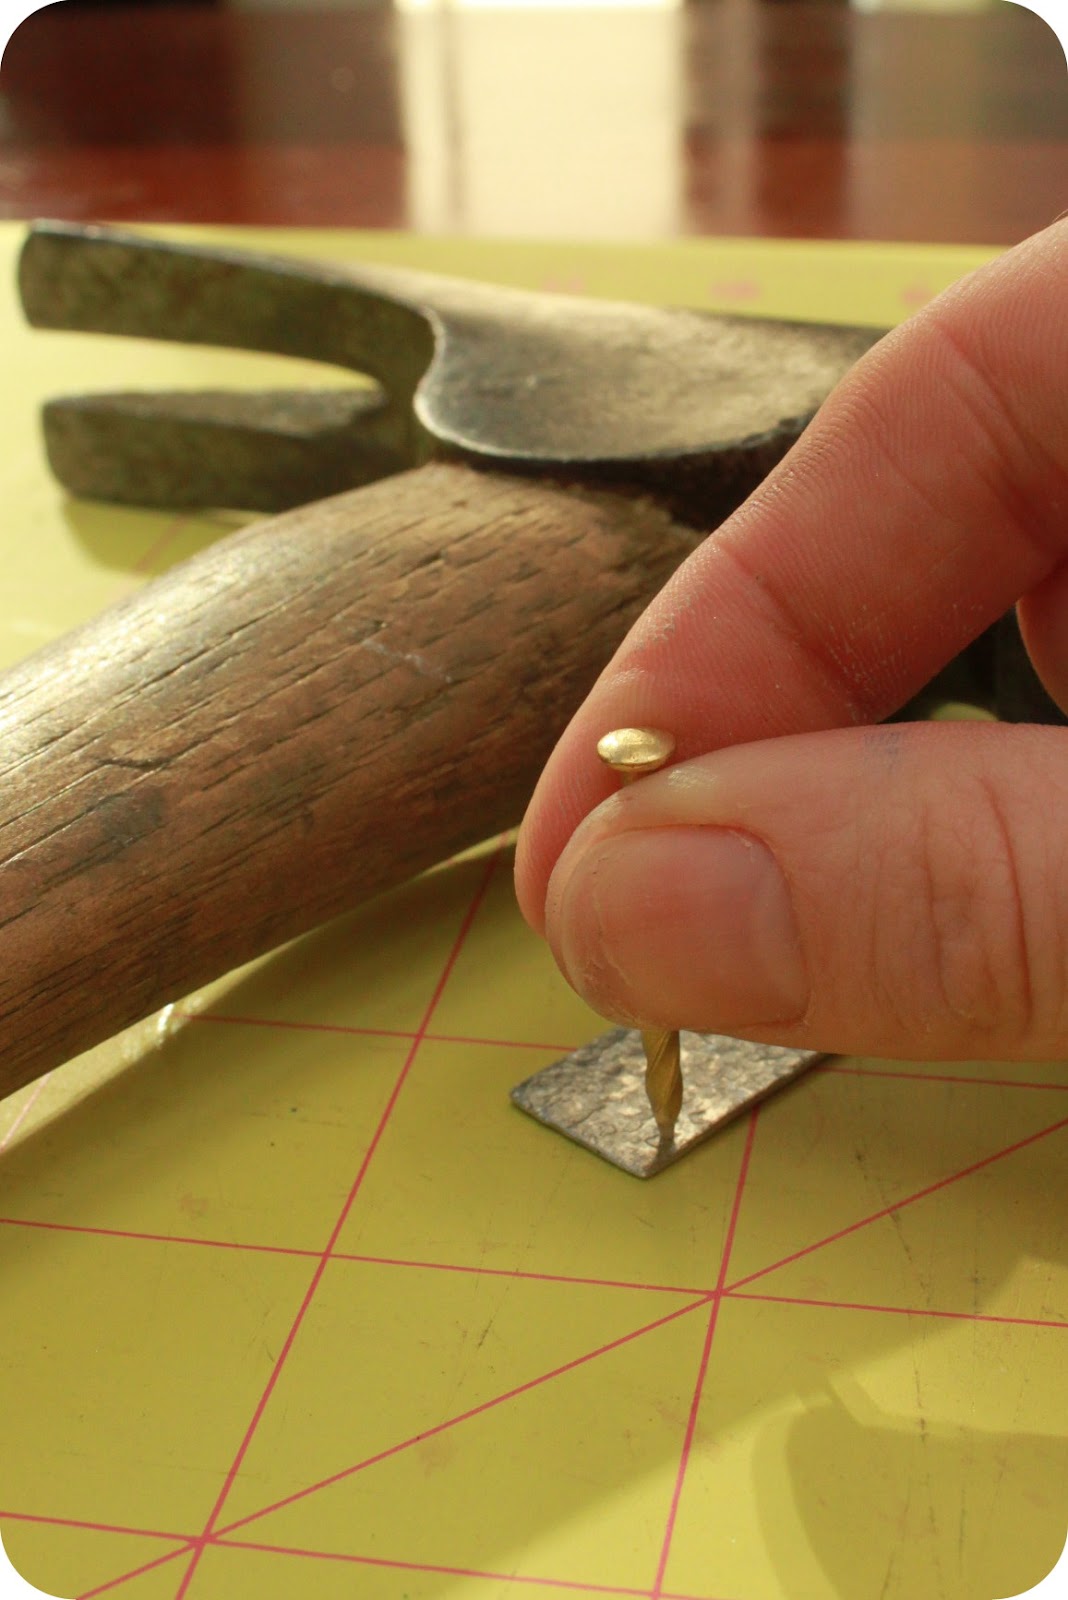
3. You need to hammer small holes near the edge of the metal. It is up to you where you want the holes to be, and where the pieces will be connected. I made small holes near the corners. Hammer in the desired spot, turn the piece over, and hammer in the same spot on the other side. Continue to work with the nail and hole until you have the desired size hole.

On one metal piece, you need holes at each corner, and the other you only need to make 2 holes.

4. Now the fun part! Open your jump rings and connect the metal pieces. You can be creative with the colors and sizes of the rings that you use. I used brass colored rings, which I think looks nice with the silver pendant, and silver chain.

5. Cut your chain to two 7 inch long pieces (this is what I did, you can make this shorter or longer, depending on the look you want). Assemble the chain, pendant, and toggle (the toggle is the necklace closure).

Voila! What do you think? It is so quick and easy. I have more of that piece of metal, I will have to see what other pretty little things I can make with it!
-Jenn
-Jenn
No comments:
Post a Comment