Showing posts with label DIY. Show all posts
Wednesday, April 18, 2012
Tuesday, April 10, 2012
DIY: Make a ring with Washers and Embroidery Thread
Here we go, another simple tutorial! This ring is not only easy to make, but it's also inexpensive to make! And, the variety of colors and sizes of ring that you could make are endless.
Here are the supplies you'll need:
- Embroidery thread in your choice of color (or thin cotton string, whatever you find should work)
- "Blank" Ring Base, I got mine from the jewelry making section of my craft store (pictured in the center)
- Washers in the size of your choice. You can find them near nails and screws in the store.
- Embroidery needle (not absolutely necessary, but makes the process easier)
- Scissors
Start by wrapping your washers with the thread. It will take some time, but it goes quick once you get started. (Picture 1) When wrapping the smaller washer, leave a "tail" when finished. You will use this to secure it to the large washer.
Once your washers are wrapped, attach them, by drawing the string of the smaller washer through the center of the larger washer. (Make sure to leave the "good" side of the washers facing up. You don't want to see any knots) Then, secure in the back of large washer with a small knot or two. (Pictures 2-4)
Use the thread to secure the wrapped washers to your ring base. (Picture 5)
That's it! Easy peasy, right? I think I will make a few more in different colors, maybe pretty pastels for spring?
Xoxo -Jenn
Labels:
DIY
Monday, March 19, 2012
Clip on earrings - 7 ways to wear them
I love clip on earrings, I have been collecting them for years. What do I love about them? Not to mention that vintage earrings can be to die for adorable, there are so many ways you wear them. Clip on earrings aren't just for ears anymore boys and girls! Here are a few ways I like to wear mine.
On a headband, or clipped in your hair.
Clipped to a scarf (another thing I have quite a collection of!)
Wear them as a necklace!
I love this, clip 3 earrings to a chain to make a one of a kind pendant.
Wear them on your tank this summer (Bonus: holds your bra straps in place!)
Wear them on your shoes! I also like to clip them near the toe.
I know what you're thinking. "How does she store all of these darling earrings?" Well, here ya go. I made this earring holder about a million years ago. Now I have made 3 different kinds for earrings alone. We won't even talk about all the other jewelry....
So, do you have any unique ways that you use clip on earrings?? I'd love to know!
Labels:
DIY
Wednesday, March 14, 2012
DIY Brush Protectors
So, you can buy a set here at Sephora for $8, which isn't a bad price, or you can make your own for literally pennies! Here's how.
At your local fabric store, you can buy nylon net, which is like tulle, only the "holes" are bigger and the material is stronger. There is a bit of stretch to it, which is perfect for this project.
You will need:
-Nylon net (your choice of color! I chose black, but they have white, red, pink, etc.) You'll only need a foot, which will leave a lot of leftover material, and only cost me $0.32.
-Needle
-Thread
-Scissors
-Thin ribbon (optional)
1. Wrap net over your brush, and make a snip where there is about a half inch of overlap. Continue to cut along that snipped line. Cut a rectangle that will go about halfway down your brush.
2. Fold over the net and stitch along the edge to create your cylinder. Once stitched completely from tip to tip, turn in right side in (or inside out?).
3. That could have been the end of the project for you. I thought it would be fun to add a little ribbon to the tip of my brush protector though! I weaved the ribbon through the very top of the netting.
Thanks for stopping by!
-Jenn
Labels:
DIY
Friday, March 9, 2012
Hammered Metal Necklace Project
Welcome to my very first DIY blog post! I am so excited to share with you this new project! This project is fairly easy, it shouldn't take more than an hour. I love seeing results in a short amount of time, don't you? Have a looksie....
-Hammer
-Small sheet of thin metal (I got mine at the local hardware store)
-Metal snippers
-Coarse sandpaper
-Couple of smallish nails
-Jewelry pliers
-Jump rings, I used small, medium, and large ones (where jewelry making supplies are sold)
-Necklace chain (see above)
-Necklace toggle (not pictured, oops!)
1. Measure out two rectangles on your sheet of metal. I measured out 1/2 inch x 1 1/12 inch. Cut them out, carefully, with metal snippers (You should use gloves when handling the metal, it has sharp edges after all. I can't say that I did. Whoops!).
| When you cut the metal, it will bend out of shape. That is ok! |
2. Hammer the entire surface of each side of the metal. This step I did on a thin piece of cardboard on cement flooring. Continue to hammer until you are happy with the look. **Important** Sand the edges and corners with your coarse sandpaper. The edges are sharp! and we don't want to scratch up your chest, now do we?!
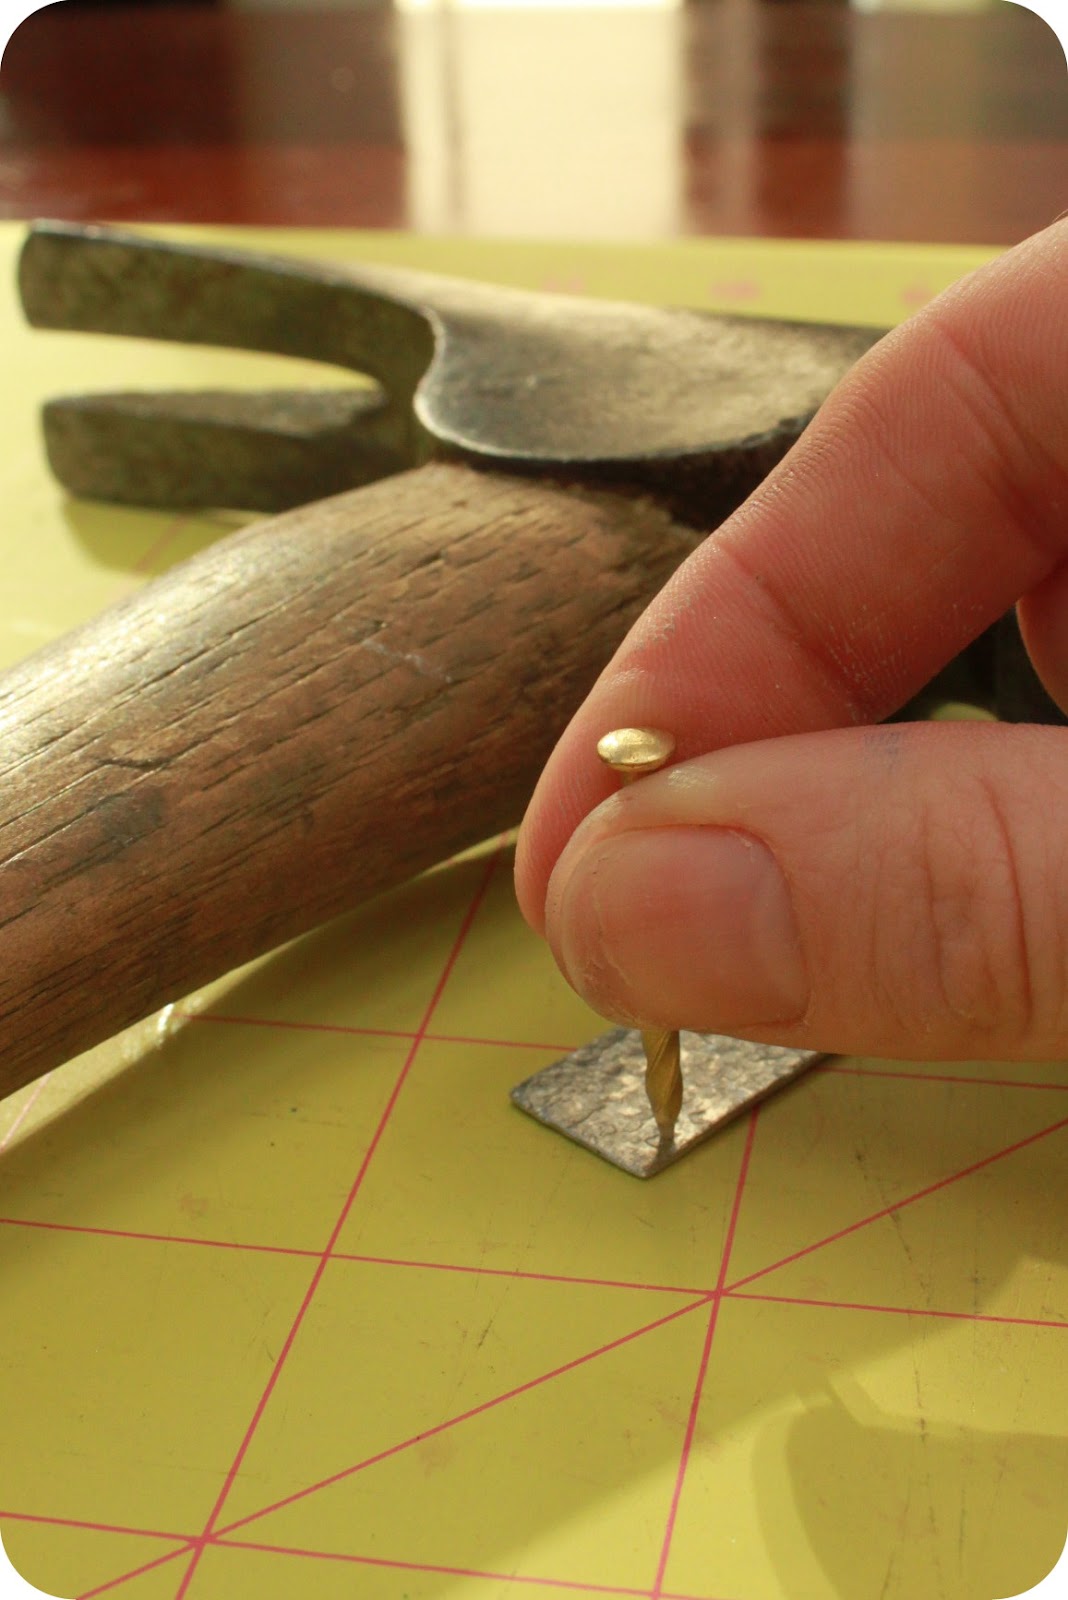
3. You need to hammer small holes near the edge of the metal. It is up to you where you want the holes to be, and where the pieces will be connected. I made small holes near the corners. Hammer in the desired spot, turn the piece over, and hammer in the same spot on the other side. Continue to work with the nail and hole until you have the desired size hole.
On one metal piece, you need holes at each corner, and the other you only need to make 2 holes.
4. Now the fun part! Open your jump rings and connect the metal pieces. You can be creative with the colors and sizes of the rings that you use. I used brass colored rings, which I think looks nice with the silver pendant, and silver chain.
5. Cut your chain to two 7 inch long pieces (this is what I did, you can make this shorter or longer, depending on the look you want). Assemble the chain, pendant, and toggle (the toggle is the necklace closure).
Voila! What do you think? It is so quick and easy. I have more of that piece of metal, I will have to see what other pretty little things I can make with it!
-Jenn
-Jenn
Labels:
DIY
Subscribe to:
Posts (Atom)